Requirement module helps user in specifying the requirements at the start of the project.
Here we will show the various features present under requirements module, in a step-by-step fashion.
You can click on the images below to view them in full size.
- Open QC application and provide the valid user name and password. Select the domain name and the required project name from the drop down list.
- Navigate to Requirements module present on the left hand side of the application. The snap shot is provided below.

- Requirements are classified as User Requirements, Business Requirements and System Requirements.
- Create a new folder by clicking on the “New Folder†option present below the Requirements menu bar.
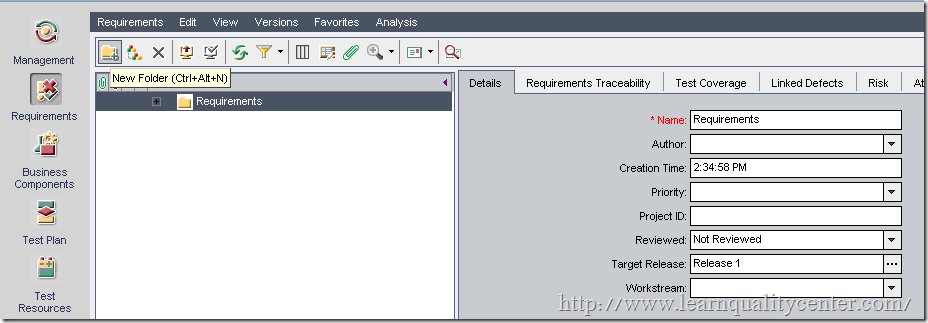
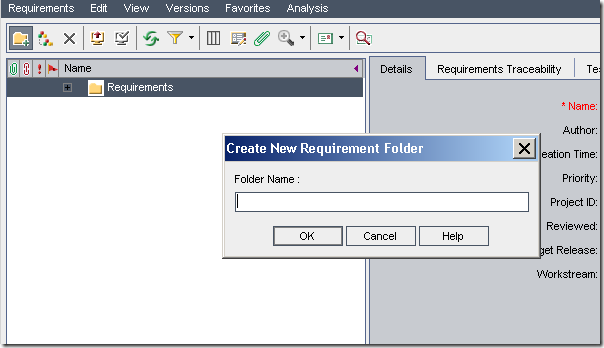
- Provide a name to the requirement folder and click on OK.
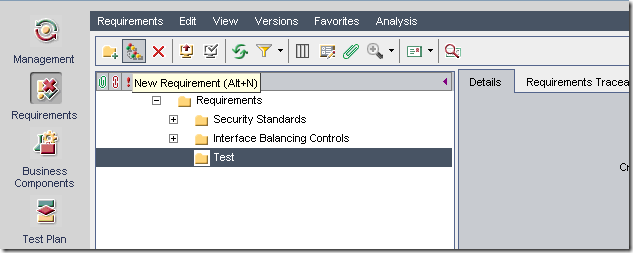
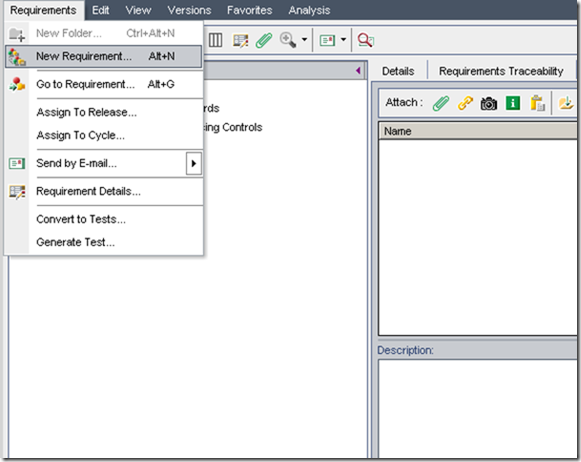
- A new requirement folder is created successfully. Click on “New Requirement†button present beside the new folder.
- A pop up appears, Provide the Requirement Type(Business,User,System) and Requirement Name in the edit box and click on OK.
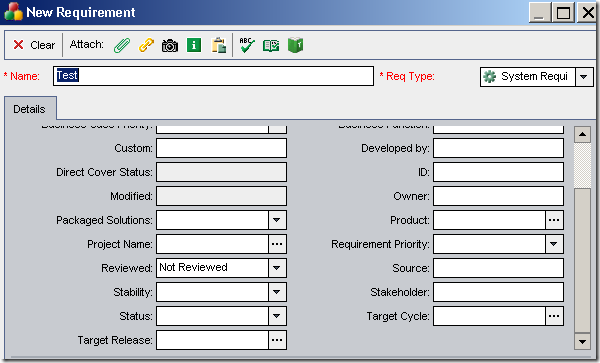
- Once the user clicks on OK a new window opens.Provide all the details in the fields specified.
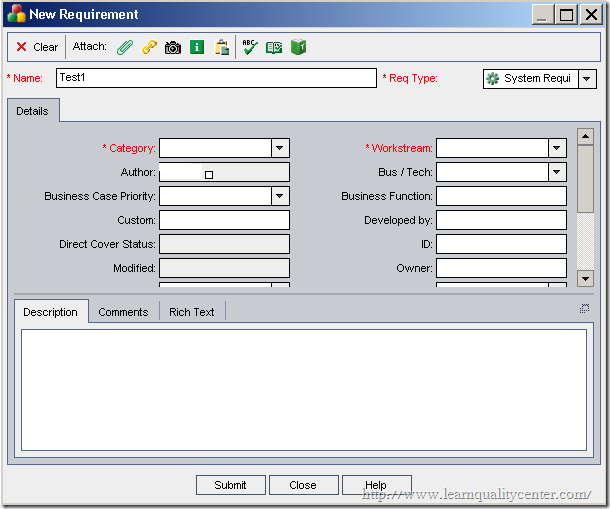
- The fields marked in red such as Category and Workstream are mandatory fields. Without providing values for these fields, a requirement cannot be submitted. Input all the other details such as Custom, Business Function, Bus/Tech etc and submit the requirement.
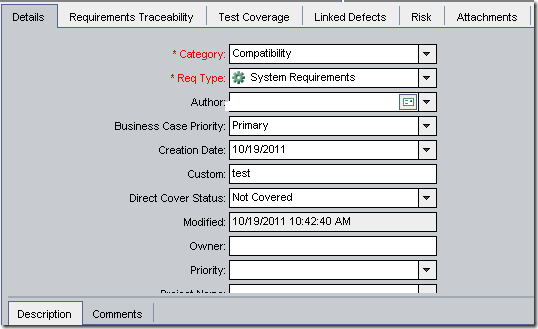
- Once the user submits the requirement, all details inputted by the user will be displayed as shown below.
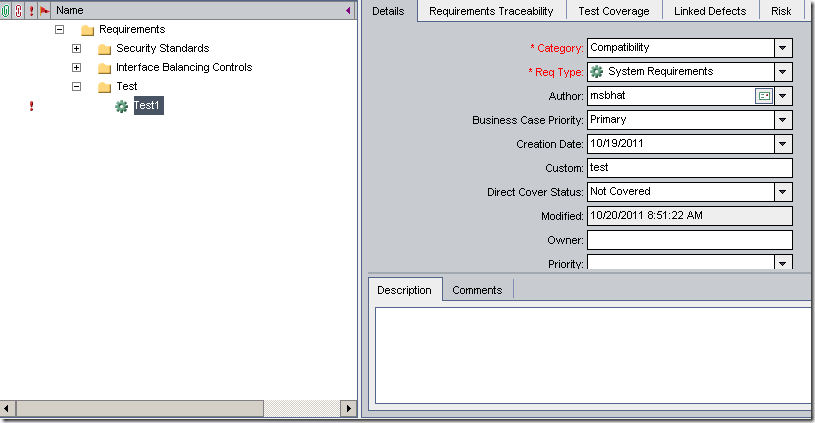
- A user can create multiple child requirements by following the steps as mentioned above.
- Requirements Traceability – Requirements can be traced in every project through the functions Trace From and Trace To.
Trace From – Requirements that affect <Test1>
Trace To – Requirements affected by <Test1>
Find the snap shot below for more info.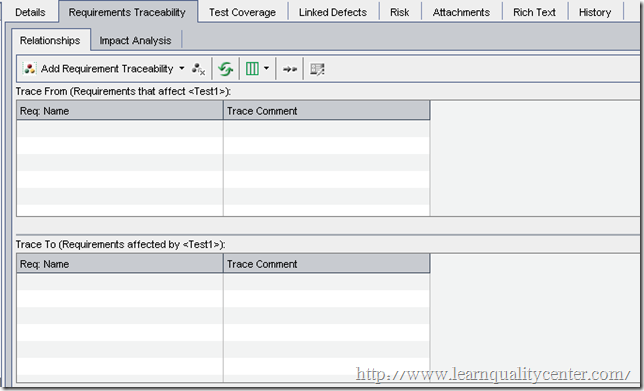
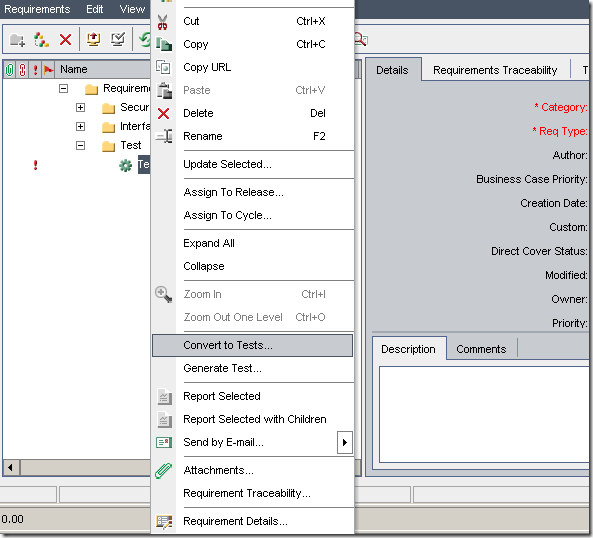
- A requirement can be converted to a Test. Right Click on the Requirement and select “Convert to Testsâ€.Find the snap shot below.
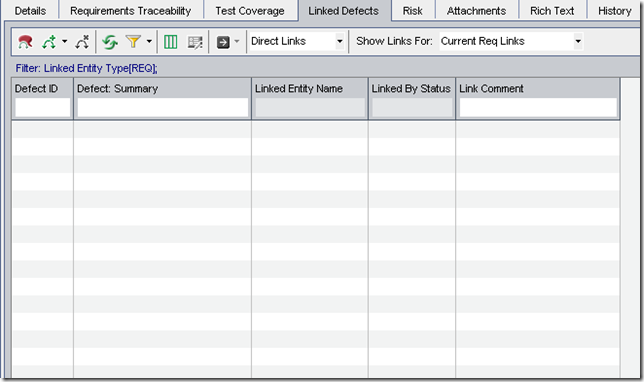
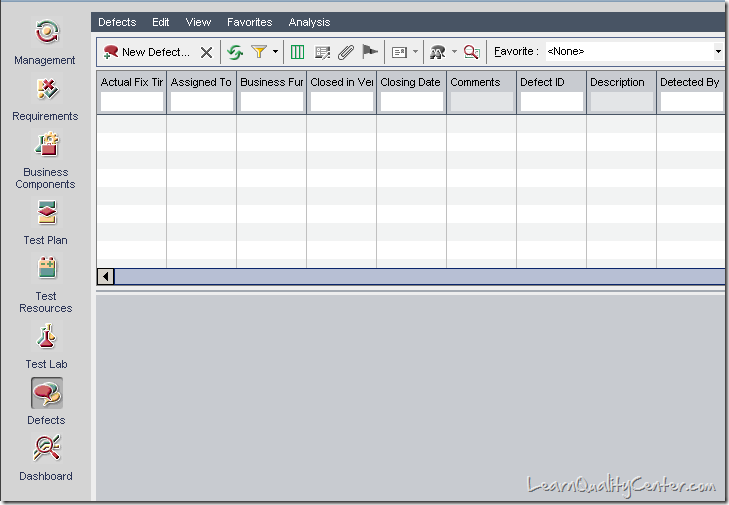
- Defects can be added and linked to the requirements as per the snap shot shown below.
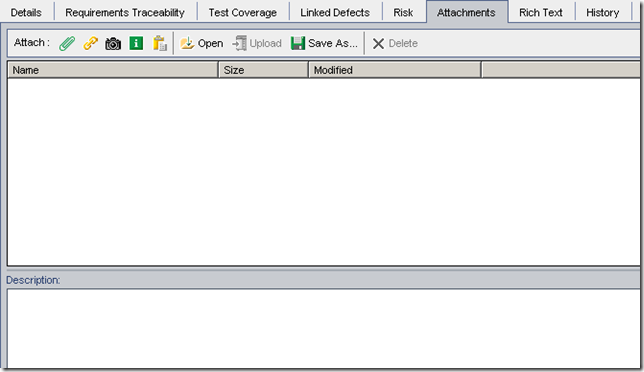
- Attachments can be attached to a particular requirement.
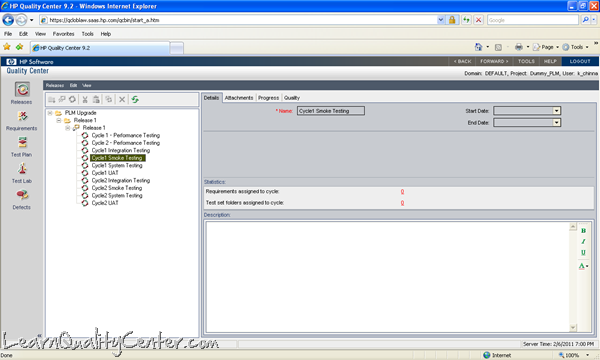
- Every requirement should be tagged to a release and a cycle. Consider an example given below for a release and a Cycle.
- Consider a new project is started and it spans over a period of three months. This three month period can be tagged as a release and there may be many phases such as Analysis, Development, Deployment etc.All these activities can be tagged as cycles and requirements can be tagged to the cycles as a part of execution.
- Navigate to Requirements present on the menu bar and click on “Assign to Release†and tag the particular requirement.
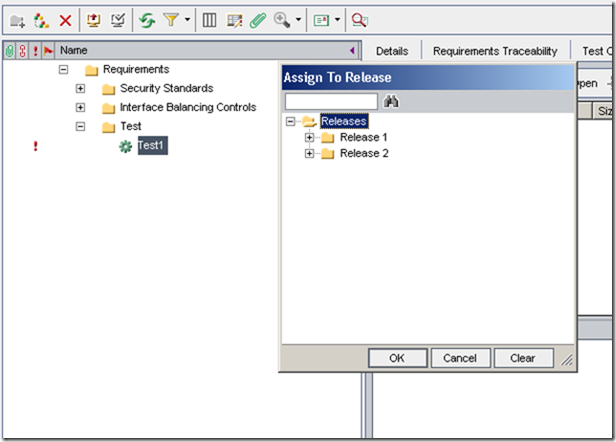
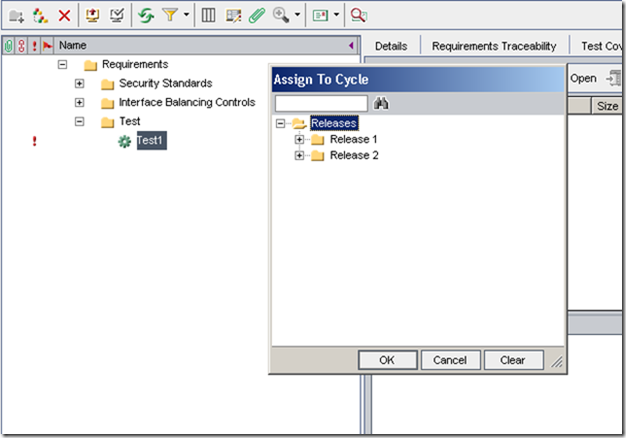
- Navigate to Requirements present on the menu bar and click on “Assign to Cycle†and tag the particular requirement
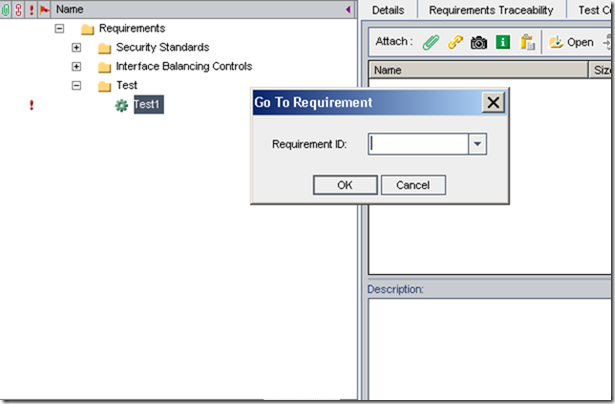
- If the requirement tree is very huge and user needs to find the requirement, a user can provide the requirement ID and click on “Go To Requirement”
- A Requirement and its details can be sent via an email to the specified user. Navigate to Requirements present on the menu bar and click on the option “Send by Emailâ€.
- The Requirement view can be changed to three different views as mentioned below “Requirements Treeâ€, †Requirement Details†and “Requirements Gridâ€. Requirement Details:
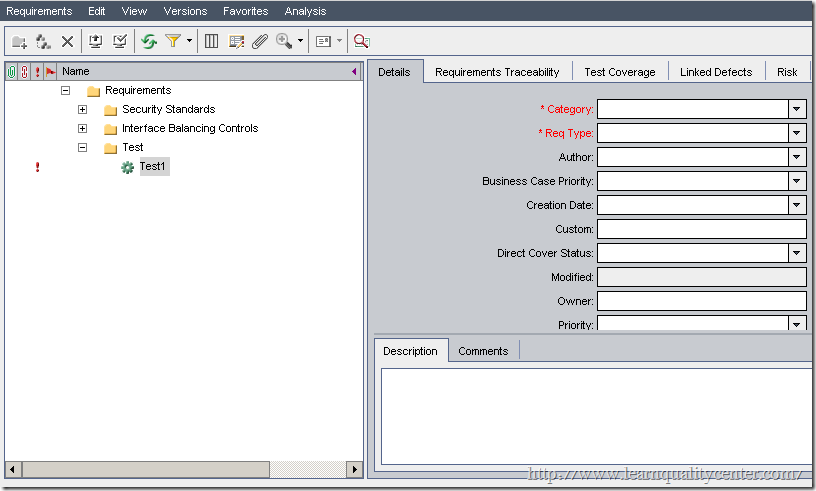 Requirements Tree:
 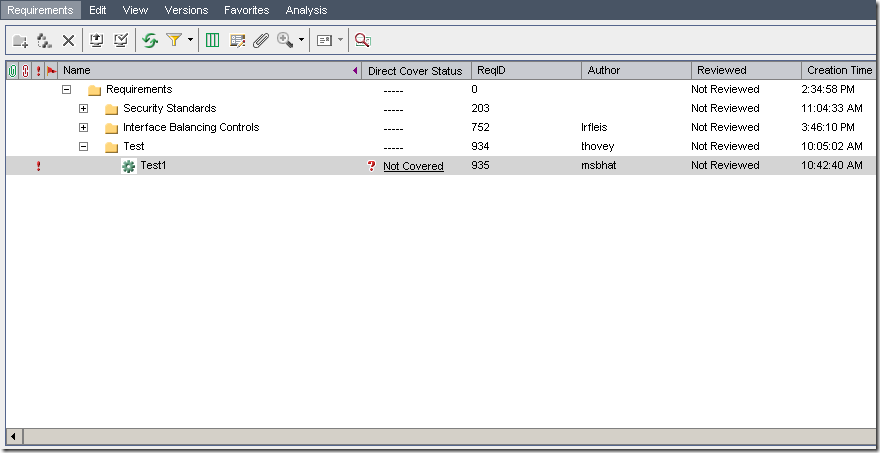 Requirements Grid:


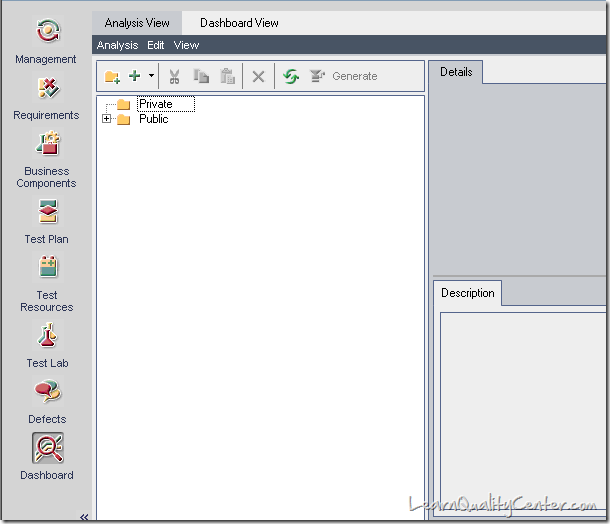


 initiative
Very helpful article…cheers!!!!
Posted by Priyanka Singh | December 27, 2011, 2:31 pmI am new to QC and testing. Can we add Use Cases to quality center and link them to test cases instead of requirements?
If yes, then what should we select the requirement type? Undefined, Functional or testing?
And also, how to enter different fields from Use Cases like Trigger, Description, Pre-conditions, post- condition etc or we need to enter them at all.
If I just enter the Use Cases name and a short description and then put the Source Document as Use Cases, is that okay?
Please reply
Thanks
Posted by Ali | January 3, 2012, 3:11 amgreat article
helped a lot to get me job as QC TEST ADMINISTRATOR
Posted by BABA DON | March 3, 2012, 4:50 amHi,
It would be great if you can publish a report on ” How to export Microsoft Word requiremsnts into Quality Center”.
Posted by peddaswamy | March 30, 2012, 1:53 amIt is really an excellent article.
Posted by Mir | January 14, 2013, 7:31 pm